7 Days to Die server guide
Short answer: Set your server name and password on the Game Settings page (or in serverconfig.xml), then start the server and wait for Connected with 7DTD server. Players find it in the in-game server browser or connect with your address.
Before you begin
Section titled “Before you begin”- You need: 7 Days to Die on Steam, on the same version as the server.
- If you’re new to the panel, read Your first 15 minutes: from order to playing first.
Server facts
Section titled “Server facts”| Versions we offer | 7 Days to Die (default) |
| Backups keep | /.local/share/7DaysToDie/, /serverconfig.xml |
7 Days to Die
Section titled “7 Days to Die”| Ready when the console shows | *** Connected with 7DTD server. |
| Stop command | shutdown (sent by Stop) |
| Extra ports | none |
| Mods page | a download link (URL): placed in the Mods folder |
| Game Settings page | Yes: Server settings (22 settings) |
| Tested in our lab | 2026-10-05: installed (18 GB), reached its ready message |
Startup settings
Section titled “Startup settings”| Setting | You can change it | Default |
|---|---|---|
| Max Players | No | 8 |
| Game Difficulty | Yes | 2 |
| Auto Update | Yes | 1 |
| Beta Branch | Yes | (empty) |
| Telnet Password | Yes | (empty) |
| Telnet Port | Yes | 8081 |
| Network Protocols | Yes | (empty) |
Quick start
Section titled “Quick start”- Open Game Settings and set the server name and password. Defaults on a new server: name
My Game Host, no password, 8 players, map Navezgane. - Select Start and wait for
*** Connected with 7DTD server. - In 7 Days to Die: Join a Game, find your server by name, or use Connect to IP with your address.
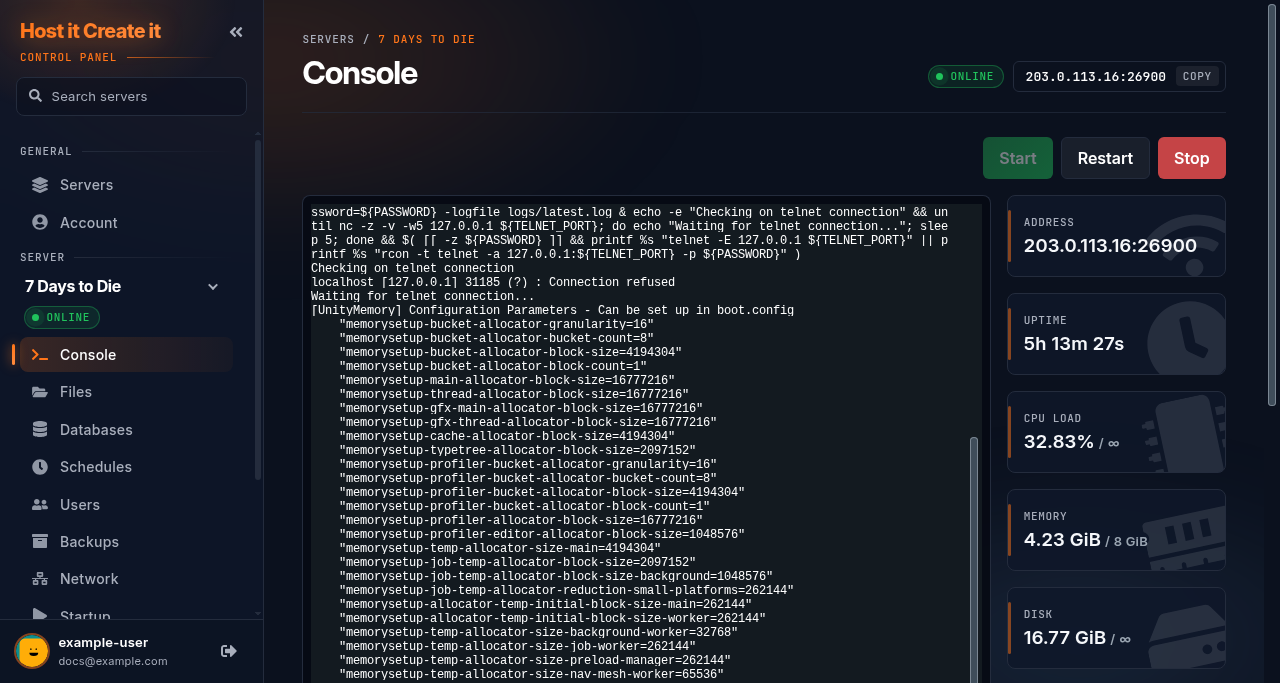
- Join the server once.
- In the panel console, type
admin add <player name> 0(0 is the highest permission level). - In game, press F1 to open the console and use admin commands.
Admins are stored in serveradmin.xml in the save folder under .local/share/7DaysToDie/.
Settings
Section titled “Settings”All server settings are in serverconfig.xml. The Game Settings page edits the common ones with menus: name, password, players, difficulty, blood moons, day length, loot and more. Restart after saving. For anything else, stop the server and edit the file in Files.
Two settings worth knowing:
EACEnabled(Easy Anti-Cheat) is on by default. Some mods need it off.ServerVisibility2means public in the server browser.
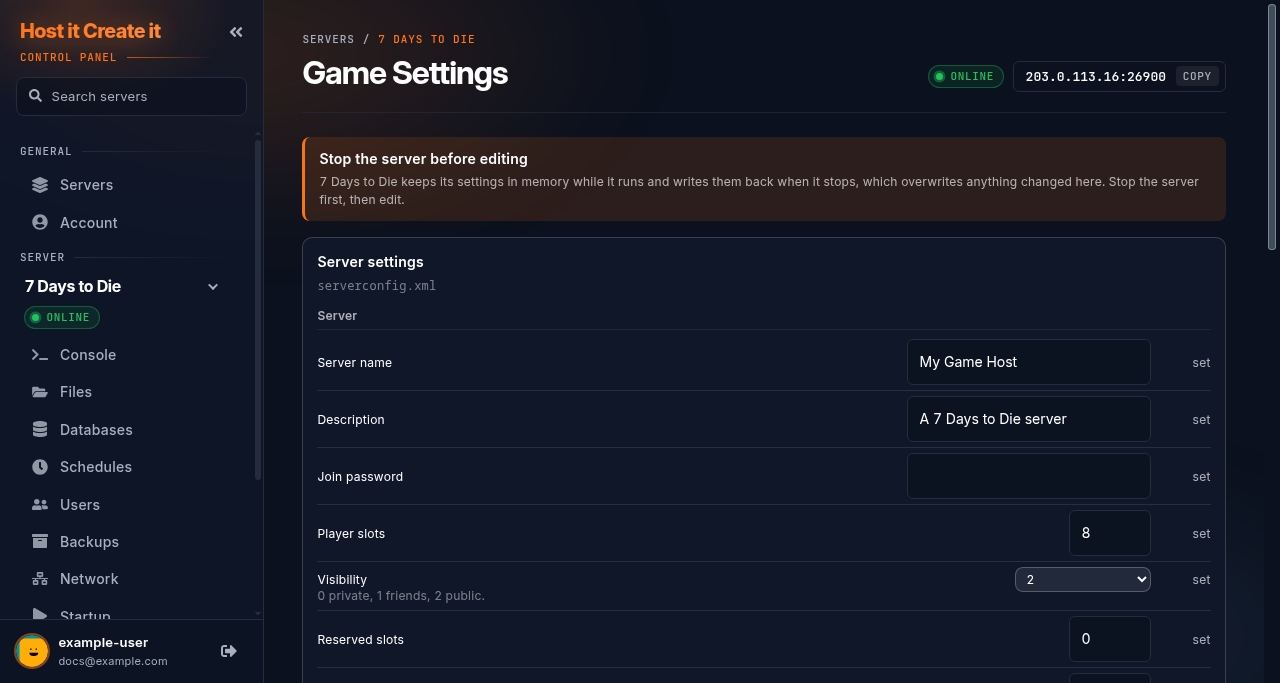
Worlds and player data are in .local/share/7DaysToDie/. Backups keep that folder and serverconfig.xml. To start a new world, change the game name (GameName) in Game Settings; the old world stays and returns if you change it back.
On 7 Days to Die, the Mods page installs mods from a download link into the Mods folder. Restart afterwards. Mods that change the game (not just the server) must also be installed by every player, and usually need Easy Anti-Cheat off.
Restarts and updates
Section titled “Restarts and updates”- Stop sends
shutdown, which saves first. - Auto Update on Startup is on by default, so restarts install updates. Big game updates usually need a new world and updated mods: check before restarting.
Common problems
Section titled “Common problems”| Problem | Cause | Fix |
|---|---|---|
| Version mismatch when joining | Game updated on one side only | Restart the server to update; players update through Steam |
| Can’t join a modded server | Players lack the mods, or Easy Anti-Cheat blocks them | Players install the same mods; turn off EACEnabled if the mod says so |
| Server takes very long to start | First start generates the world | Wait; later starts are faster |
When to contact support
Section titled “When to contact support”Contact support if the server doesn’t reach Connected with 7DTD server, or nobody can connect. Include the console output. See How to contact support with useful diagnostic information.
Related guides
Section titled “Related guides”- Adding your server to your Steam favourites
- Installing mods from the Mods page
- Updating your game server
- How to create and restore a backup
Last reviewed: 2026-10-05 · Applies to: Game Panel (hici 0.4.2, HiCiTools 3.0.2)